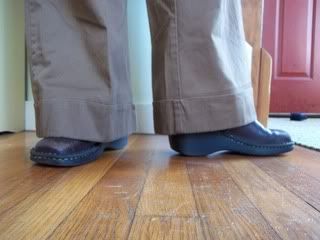
Perfectly Hemmed Pants
Learning how to do a professional looking hem on a pair of pants or a skirt is a handy skill. Often, I will find a great pair of pants at a garage sale or thrift store that is just too long, but I buy them anyway, knowing that I can fix them in about 10 minutes at home. A European hem is often used on jeans, and it is the hem to use when you want to keep the original hem of the pants. In the case of the pants I was shortening, there was a large, nicely done cuff that I didn't want to just cut off. These pants were the perfect candidate for a European hem and it was incredibly easy to do!
1) Decide the proper length for the pants and determine how much you want to shorten them. (Keep in mind what shoes you will wear with the pants!)
From here on, we will be working with one leg at a time.
2) Turn the pants leg wrong side out. Halve the amount you want to shorten, and mark that measurement from the top of the original hem. In my case, I wanted to shorten my pants two inches, so I marked one inch above the original hem all the way around the cuff.
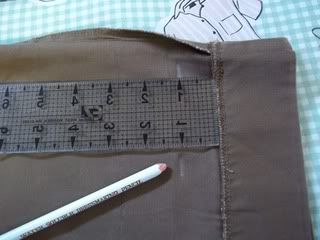
3) Turn the pants leg back to the right side out. Fold the cuff right up to the lines you marked. The lines should be right along the very edge all the way around. Iron very carefully and give it a good sharp crease.
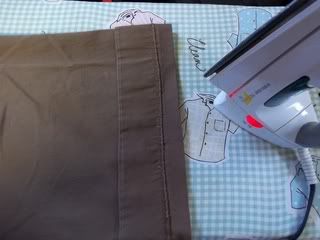
See the lines right on the edge there?
4) Now you are ready to sew. Set up your machine to do a straight stitch with matching thread. Line up the needle to sew right along the very edge of the stitching line for the cuff. Make sure the fabric is lying down smooth and be sure that you are not catching extra fabric, especially underneath. You may need to use your hand to guide and tuck away extra fabric.
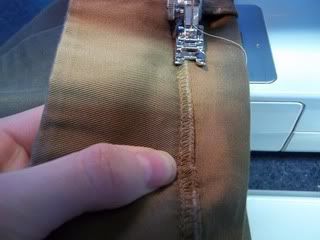
5) Now you may start stitching all the way around the cuff. Go slowly, keeping things nice, smooth, and straight. (This is where doing a good job ironing will pay off!) Going slowly and guiding with your hand underneath will help keep extra fabric from getting caught in the stitch and will save you ripping out seams later! When you've gone all the way around, snip the threads.
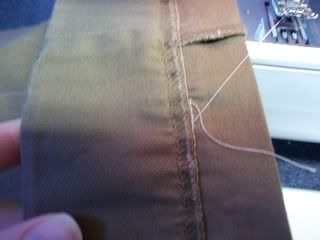
6) You should have a nice cuff with that extra 2 inches of fabric tucked neatly up underneath.
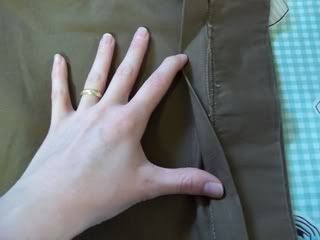
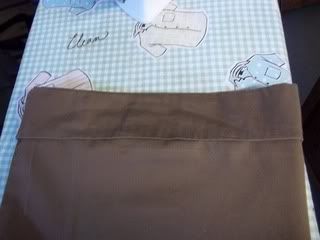
This is what it should look like wrong side out. See that neat flap of fabric?
Unless the fabric is extra bulky, I wouldn't recommend cutting it off. If you need to lengthen your pants later, it will be easy to do by letting out the hem you just sewed.
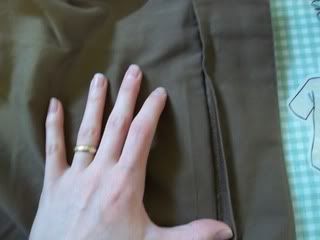
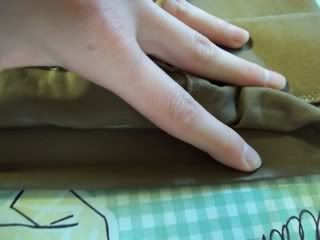
This is right side out where I am pushing back the cuff so you can see my stitching. The seams are nicely hidden by the fabric. You really can't even tell they have been hemmed!
7) Now you can straighten out the cuff, give it a touch up with the iron, and try them on. Make sure you like the length, then do the other leg.
Happy Sewing!

No comments:
Post a Comment