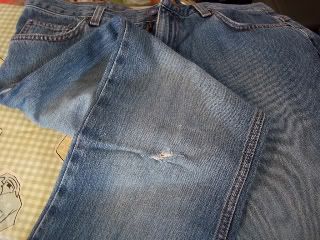
My Hole-y Jeans
I bought a nice pair of used jeans to be my "going out pair" and about the third time I wore them, blew a hole in the knee. I was pretty bummed. So while these can't be my nice pair anymore, they aren't exactly ready to be relegated to gardening and car washing yet. So I patched them.
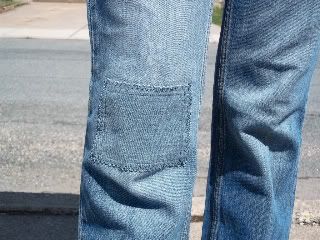
Patched Up Knee
This is the way I patch jeans for everyone in the family. It's simple and effective, and helps them last a year or two longer before they are only good to wear as cut offs. In my experience, the knee patch will outlast the jeans. I recommend patching before the hole gets to be too large. For one, it will be easier, and secondly, the fabric will keep more of its strength.
So how to go about doing it...
1) Cut out your patch with pinking shears* (those zig-zag scissors). I like to use denim on denim for functionality and strength, and I have a big pile of old jeans I've been cutting up, but you can also use cute print fabrics or something to contrast. Just look around in your scrap pile. Cut the patch with plenty of room to cover the hole on all sides. A rectangle or square will be the easiest to sew, but you can use any shape.
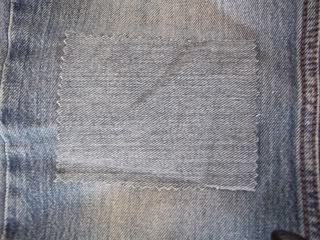
*Note - if you don't have pinking shears, or if you prefer not to use them, you will just need to cut the patch even larger and iron down about 1/4" on each side to enclose the raw edges within the patch. This will work well with thin cotton, but isn't recommended for heavier denim or corduroy as it will be very bulky.
2) Cut a slightly smaller piece of iron-on pellon/interfacing. Use the kind where one side is fuzzy, and one side will be sticky. This is optional, but I highly recommend it because it will help stabilize the fabric.
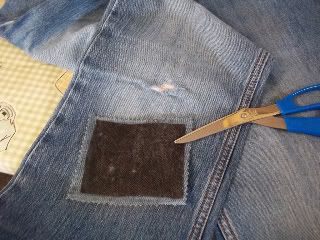
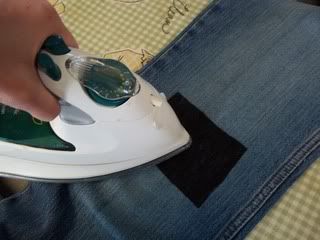
3) Iron on the pellon patch over the hole, sticky side down. (You don't want to iron the patch onto your iron!)
4) Pin the patch in place, and get ready to sew. Set up your machine with matching thread and a straight stitch. Make sure the fabric is lying nice and flat and that extra layers of fabric won't be catching underneath.
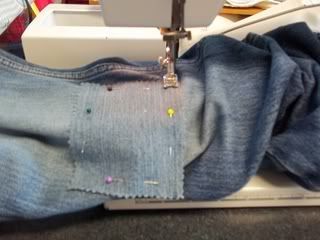
5) Start sewing very slowly. I line up the edge of the patch with the edge of the presser foot and that is a very easy guide. Gently guide the material through the machine, and gather fabric underneath with your left hand to keep it out of the way. This can be a little tricky to do. Just remember, slow and steady wins the "I don't have to use the seam ripper" prize! :) Rather than just going all the way around, I found it easier to do the horizontal sides one after the other, then I rotated the fabric and did the vertical. Keep things nice and flat and straightened out so your patch doesn't bunch up.

6) After doing the straight stitch, I went back and did a zig-zag over the edges to make it more secure. Alternately, you could snip the fabric with scissors if you want to have more of a frayed look.
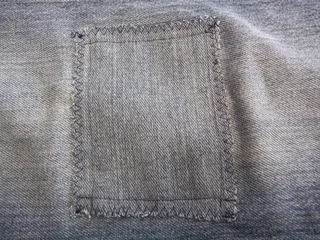
There's my finished patch! I've been wearing these jeans for a couple of weeks now and it is holding up very well! (And before you ask, of course I've washed them too! :P)

No comments:
Post a Comment