Specifically, for Fuzzi Bunz and Blueberry pocket diapers. In order for this to work, there must be a leg casing. (This is a big reason why I like to buy these two brands - once the elastic is shot, I can fix them instead of throwing them away!)
Notes
- I did the stitching in navy thread so you can see it better. You will probably want to use white to match the fleece.
- The entire process is done sewing by hand. No machine necessary!
- You will need a needle, scissors, thread, and 1/4" braided elastic cut in about 6" lengths.
Let's get started!
Step 1:
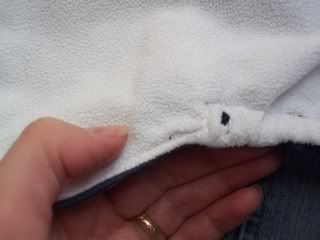
Find the leg casing on the diapers. Cut a small slit (slightly more than 1/4" long) about 1/4" to the edge of the casing. You will do this on each end of the casing on both sides, making four slits total. *Do not cut through the PUL - Cut the fleece ONLY!)
Note: If you are replacing elastic in Blueberries, you will want to go ahead and cut out the old elastic at this time. Just snip it and pull it out - a little end left is ok. There is no need to cut out the elastic in Fuzzi Bunz - it is hidden under a seam and it will not make your casing to bulky to leave it in.
Step 2:
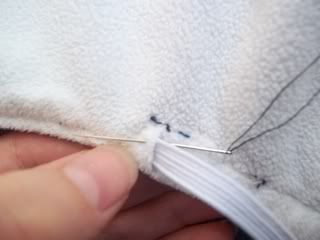
Tuck the elastic back in the casing. Bring the needle (with knotted thread) up under the elastic and through the fleece so the knot will also tuck back into the casing.
Step 3:
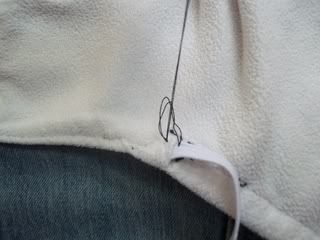
Do a blanket stitch to anchor the elastic inside the casing.
A blanket stitch is similar to a whipstitch, only you are catching the loop of thread and pulling it into a knot with each stitch. It is meant to be nice and strong.
Step 4:
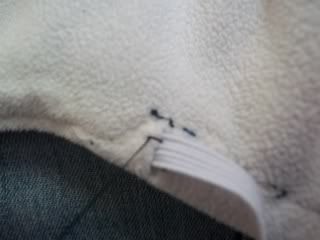
This picture shows the first stitch completed. Blanket stitch all the way across the width of the elastic and just for extra strength, stitch back to where you first started.
Step 5:
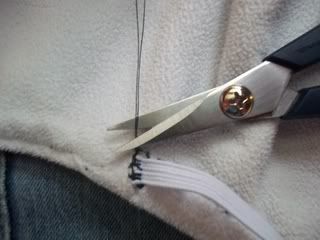
Tie two knots to anchor your thread and snip it close to the knot.
Step 6:
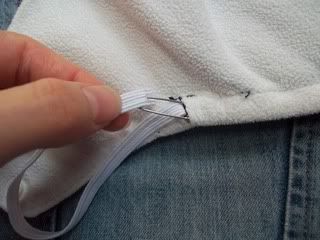
Attach a safety pin to the other end of your elastic. Push the safety pin along the casing, pulling the elastic along. Try not to let it roll or twist.
Step 7:
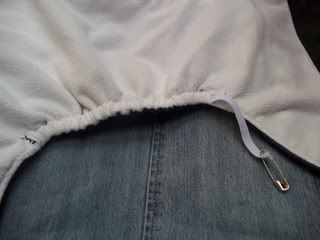
Pull the elastic as tight as it needs to be. Use a newer diaper with good elastic to compare.
(I try to err on the side of being too tight rather than too loose because the elastic will loosen over time.)
Step 8:
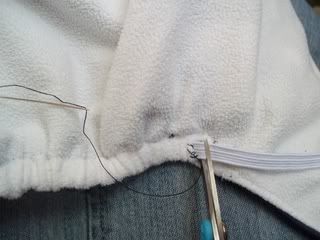
Hold the elastic in place as you bring your knotted thread up under the casing and through the elastic. Blanket stitch across the width of the elastic. Once the elastic is secure, you can trim off the excess elastic.
Step 9:
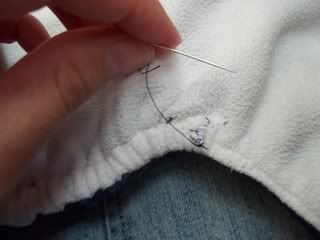
Tuck the little bit of tail of the elastic back into the casing. Blanket stitch back across the width of the elastic to where you started, this time, catching both sides of the fleece and the elastic with each stitch. This will close up the opening in the fleece.
Step 10:
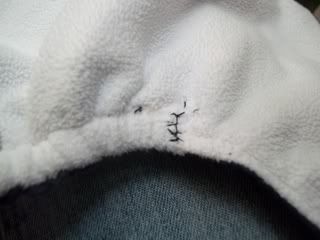
Tie a couple of good knots and trim the tread.
Step 11:
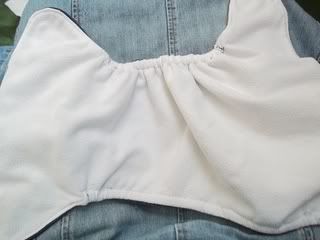
Side one is done! Now do the same on the other side.
And this is what it will look like when you are finished:
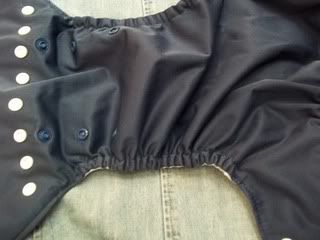
Good as new!!
Other Cloth Diaper Tutorials:
How to Re-waterproof PUL on pocket diapers
How to your own Microfiber Inserts for pocket diapers
How to sew a waterproof pail liner
Pin It

Thanks for this and re-proofing the PUL
ReplyDelete