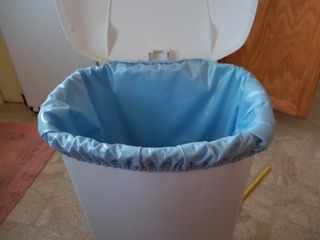
Here are the details on how to make a waterproof diaper pail liner that fits in a standard, flip-top kitchen trash can. Making my own pail liners cost *at least* half the price of buying a new one similar to this. Mine turned out every bit as nice as the ones I bought over four years ago. (My old pail liners are no longer waterproof, but they make nice laundry bags!) I like to have two - one for the pail and one for the wash.
Supplies:
(Or buy half the amount of fabric to make just one. Joanne's carries this in many colors and prints. Look for their 40% off coupons for even more savings!)
- thread to match
- 1/4" wide elastic - you'll need a length about 24" long for each pail liner (so 4 feet total for 2 of them)
1. Cutting it to Size:
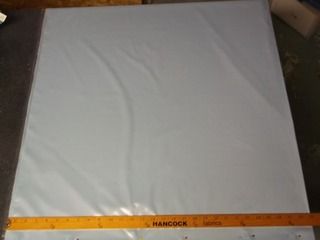
With the fabric folded in half just like it came off the bolt, it was the perfect width at about 28" wide (or 56" if you unfold it). I cut the length of fabric in half, giving me two sections about 30" long.
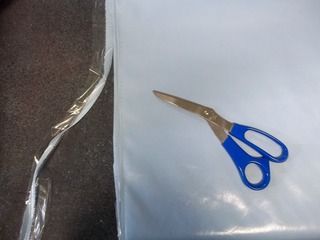
Trim the extra laminate fabric from the selvages.
2. Sewing the Bottom and Side:
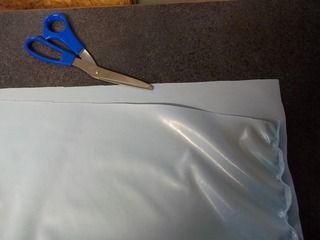
Sew the seam across the bottom of the pail liner first. As you can see, I had some significant bunching going on. Before sewing along the side, I trimmed the excess fabric. The second side is the fold, and doesn't need any sewing.
(If you want, you can turn your pail liner so the fold is along the bottom of the bag. I was a bit concerned about having a seam at the bottom of the pail, but after six+ months of use and no issues with leaking, I think it works just fine... still, up to you!)
3. Working on the Casing at the Top:
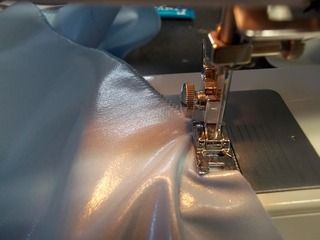
Before sewing the casing, I decided to do an overlock zig-zag stitch over the edge just to make things neater. PUL does not fray, so this step isn't completely necessary, but I think it looks much nicer.
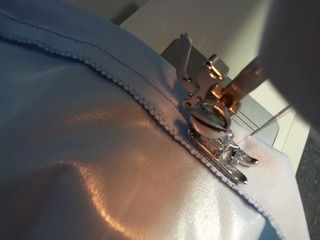
Fold the fabric over (sticky sides together) about 3/4" and sew all the way around making a 1/2" casing. Make sure you open up the fabric at the side seam before you stitch. (See picture below.)
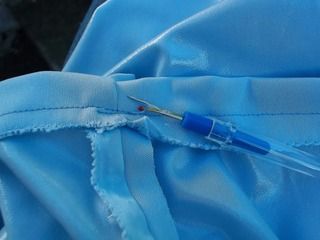
Use a seam ripper to loosen a few stitches at the side seam.
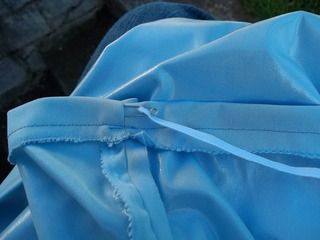
Safety pin one end of your length of elastic and work it through the casing until it goes all the way around. Tie a double knot to secure the elastic, even out the fabric, and tuck the knot into the casing.
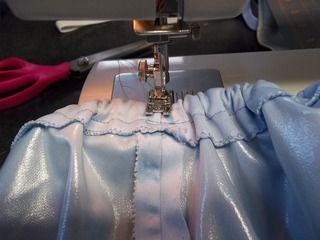
Zig-zag stitch the casing shut.
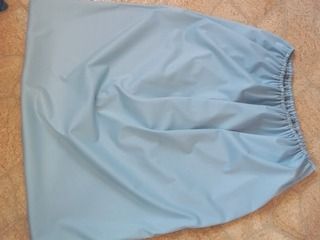
Turn it right side out and you've got your first pail liner!
Other Cloth Diaper Tutorials:
1. How to Re-waterproof PUL on pocket diapers
2. How to your own Microfiber Inserts for pocket diapers
3. How to replace leg elastic
Pin It

No comments:
Post a Comment