I used photos for our charts for several reasons. One, it's easy to modify the daily chores and add new ones to the rotation. Second, I think it is a great method for non-readers and early readers, which is where both of my Littles are at this time. Third, it was cheap and simple and I like that. :)
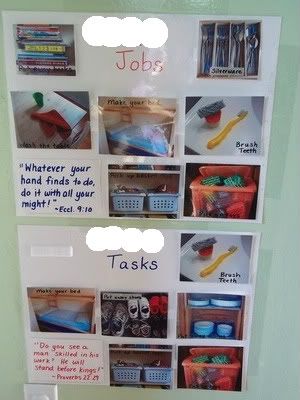
So here's a picture of our charts with the names whited out for privacy:

Here are instructions on how I made them:
- Take photos of various chores and have them printed. Label the pictures with a simple description. I recommend taking pictures of the way the job will look when it is completed. This way if you child comes to you saying the job is done, but they've done sloppy work, you can ask if their work matches the picture.
- Cut out a piece of poster board measuring 14"x18". I laid out the photos on the poster board to get an idea where I wanted to put the name and wrote it on there.
- I cut another piece of poster board measuring 4"x6" for the pocket. I wrote a Bible verse on it. One has Ecclesiastes 9:10 on it, the other has Proverbs 22:29.
- Laminate and trim the poster board, the pocket, and the photos of the chores.
- I used sticky-back velcro
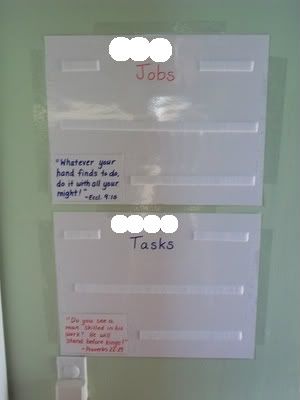
for attaching the pictures because I have a lot of it around, but you could probably come up with a way to use magnets or some other adhesive method. Looking at the picture below, you can see the way I attached the velcro into long strips, which I admit uses a lot more velcro, but it also makes it much easier for little people to affix the photos. Put the opposite side of the velcro vertically on the back of the laminated photos for ease of use.
- Attach the pocket. I used pieces of clear packing tape.

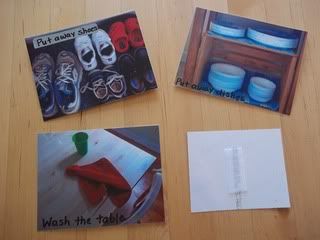
A close up of some of the photos:

So far, so good! We have a couple of happy workers and a happy mama and the system is working well!
Pin It

Clever Mama!!!!!
ReplyDeleteNice job! I really like the idea of using the photos.
ReplyDeleteLove these. Nice bible verse selection. Happy for what this bodes for future days for you!
ReplyDeleteLove it! It looks great!
ReplyDelete